- 22 May 2026
- ⚙ Coding Vibes
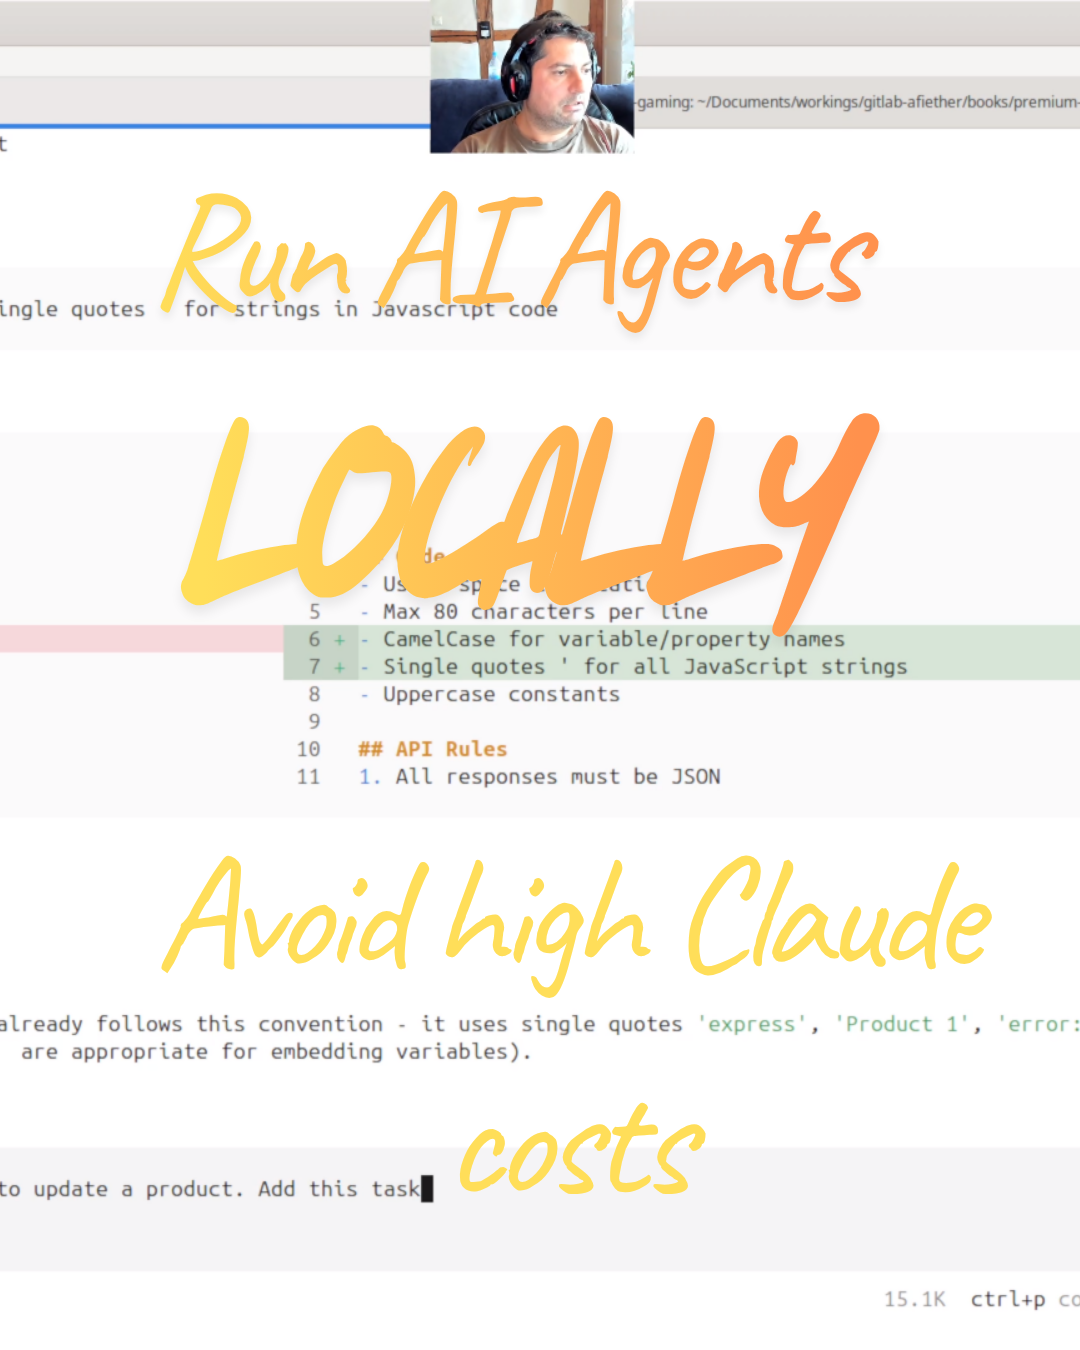
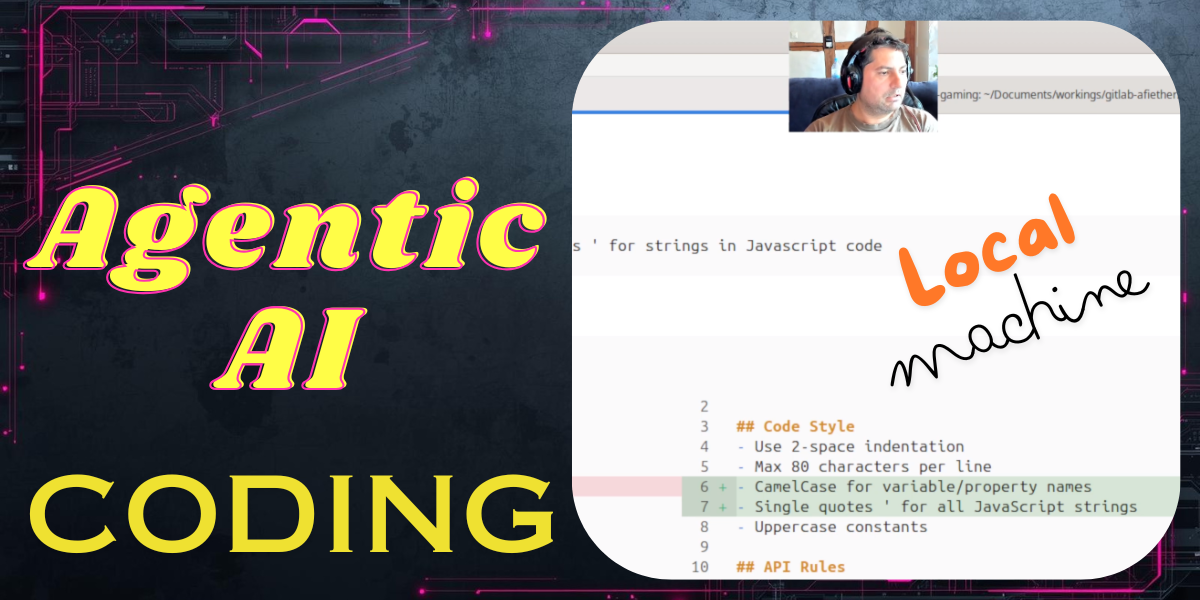
🛍️ Local AI Agent - Premium Package This post relates to one of my premium products. See product
In the fall of 2026, the prices of the common AI tools that we got accustomed to use will rise 🫣. Signs that this will most likely happen:
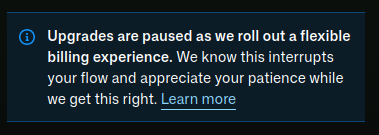
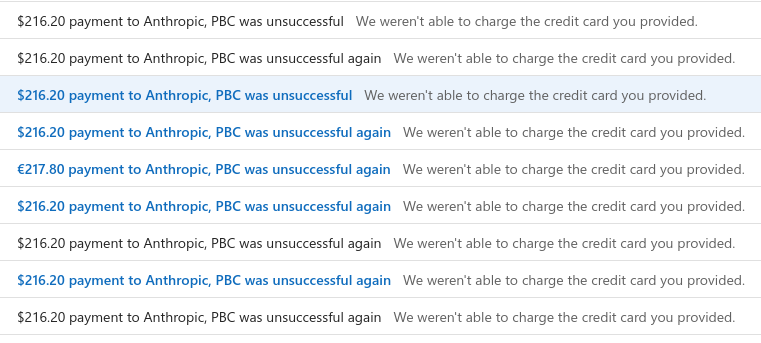
As you can notice, the Github Copilot upgrade feature is not available at the time of this writing. Claude is simply rejecting my payment, after trying with 3 different cards.
Other providers I didn't test since I decided to go on this local AI Agent route. I didn't feel quite prepared yet because I lacked some knowledge.
Where did I start from
There seems to be a myriad of AI tools out there, all promising all kinds of features. I didn't want to try them out one by one, so I registered for a nice 2 day in-person class in Zurich, provided by Letsboot. It was designed as a hands-on practice with real battle tested tools plus a nicely configured repository.
From the myriad of tools, we used these in order in CLI mode:
- Claude Code - provided by the mighty Anthropic
- OpenCode - The open source AI Agent
- PI - the minimal & extensive terminal coding
They are very similar when it comes to interface, but the real power lies in the agent and the model. As you may know, Claude is proprietary and closed-source. I agree when everybody says it's super good, hell yeah! I like the fact that it goes an extra mile to provide you with the best outcome from the code it creates: it does for you frontend + backend + unit & integration tests.
OpenClaude and PI work with multiple backend connections. In my class, they were connected with OpenAI. But this provider also can be pricey so I decided to go that extra mile myself and find a way to run a decent coding model locally.
And that's why I wrote this article, to help you achieve a decent performance with a local AI coding agent and save some cash for going on a date, a vacation or a Steam game 😀.
Terminology and architecture
In order to understand how the setup works, we need to explain the terminology behind:
- Model: the large language model that generates text, code, reasoning and decisions. A model does not know how to act, it just predicts text.
- Agent: the decision maker. An agent wraps a model and gives it goals, memory, planning, tools, multi-step workflows etc. You can see it as the "Engineer", the model is the "Brain"
- Tool: a capability that the agent can call in order to enrich its context. Examples can be: shell commands, API calls, database query, MCP servers.
- Harness: the runtime environment that connects everything. A harness provides the agent loop, tool registry, context, execution sandbox, planning logic. It's also the point of interface for the user.
- Orchestrator: optional, it's the layer that decides which tool to call, task routing, context chunking or long workflows.
- Context window: how much the model can see at once. It's measured in tokens and a default value is 4K, good enough for general purpose. For coding, we need to increase this to 16K or 32K.
- Prompt template: the structured text format the harness uses to talk to the model. In this article, we'll use OpenAI format.
- Memory: refers to agent memory, not model memory. Includes files, tasks and tool results, helps agents to avoid forgetting tasks.
The tech stack I recommend
I can say this was a trial and error thing, I expected the tooling to work properly in the first 2 hours... Neah, it wasn't the case, it took me one full day and I almost gave up. Time to focus on what actually works:
- LM Studio
- OpenCode
- GWEN coding model
- A playground (Git repo)
I'm going to show you right now how to install each. Actually it's very simple.
Install LM Studio
We start by installing LM Studio. Go to their website and download it according to your OS. I'm using Ubuntu, so for you the installation might be different.
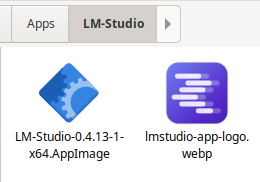
In my case, there is an AppImage which I placed in one local folder together with their icon:
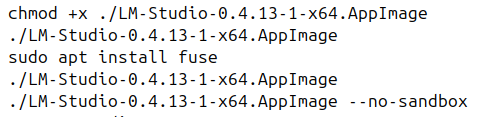
Then you need to make it executable. First time I ran it, I got an error that fuse package is not installed. I installed that one. Then I got another error, something related to sandboxing. Adding the --no-sandbox parameter solved it.
Install OpenCode
Time to install this beautiful harness and agent, called OpenCode. From their website, just download and install it. For Linux, it was just a matter of running their installation command provided on the site:
curl -fsSL https://opencode.ai/install | bash
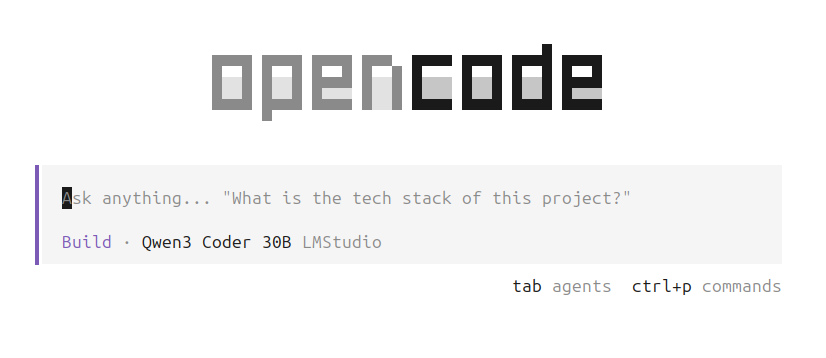
You can also try the Desktop app (in beta at the time of this writing), I personally prefer the Terminal version. Once installed, you should be able to run "opencode" in your favorite terminal and voila:
Download the model in LM Studio
Open the LM Studio from the Start Menu.

On the left side, you'll see a menu. Click on the Model Search.
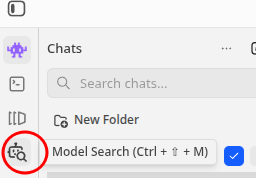
Here type in the model name: we'll use a GWEN model for coding.
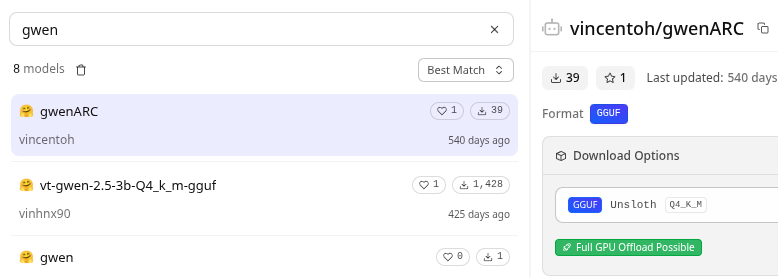
Download the model. Then in the opencode interface, you should run the /connect command and connect to the LM Studio.
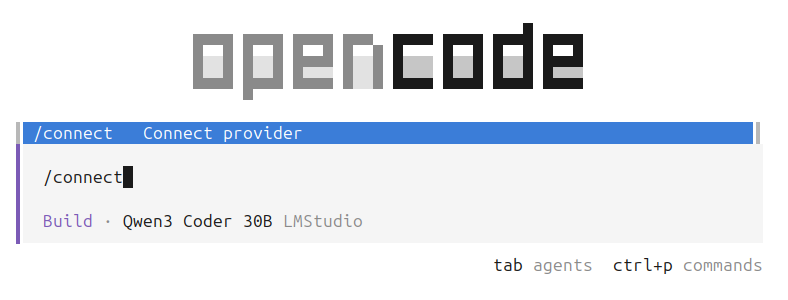
Here we need to select the LM Studio provider.
Common questions
Why a premium package?
I'm not a rip-off, scammer of anything like that. I just put in a lot of effort and hours of checking, trying, erroring etc. You'll get this without any hassle and the benefits will go above and beyond!
Why pay for this?
Took lots of time effort and besides, the price is less than a coffee/tea! You get a product from an IT professional with more than 15+ years of XP. The training that I attented was expensive as well, that's why I believe I can offer you a lot of value.
Do you offer support?
Yes, anything that you'd like to accomplish I'm eager to support you on your journey of running an AI Agent locally. Just contact me!
Do you offer a refund?
Would you ask for a refund if the coffee had too much milk or less sugar? For coffee, you don't get technical support, but for this package YOU DO! 😉
Check out 👉
Local AI Agent - Premium Package
👈
— Run AI coding agents locally and ditch expensive Claude & Copilot subscriptions
CHF 2.99
🖼️ Show more info